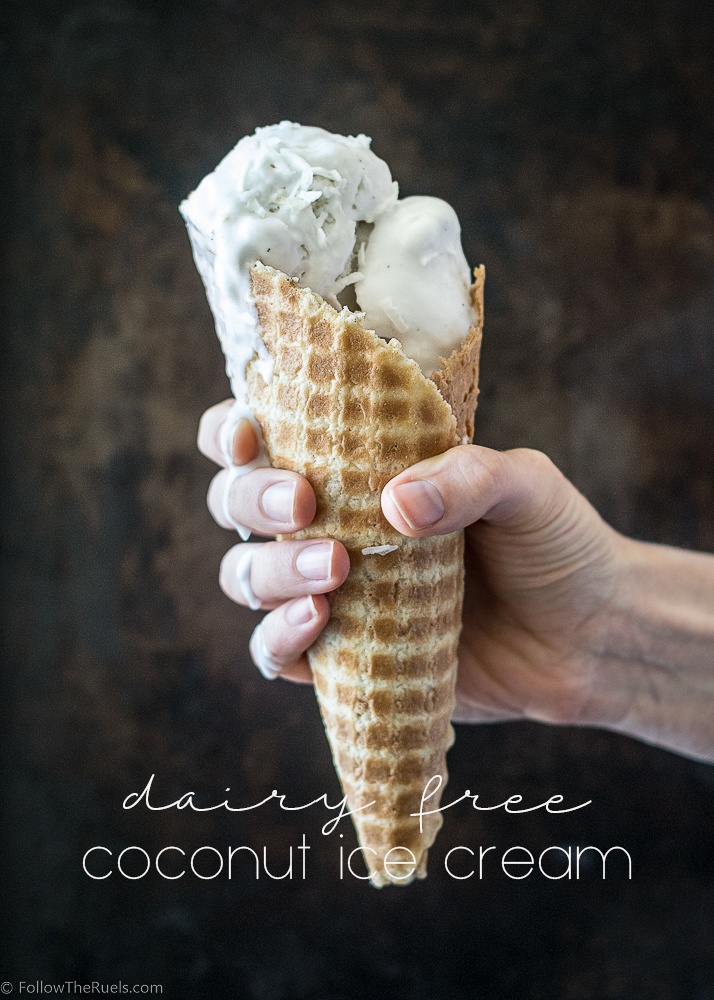
Dairy Free Coconut Ice Cream
Recipe by The Honey Blonde
Visit websiteAll you lactose-intolerant, Paleo, or just anti-dairy people out there, this recipe is for you! This coconut ice cream is made without a single drop of milk or cream. And even better, it has far less added sugar than a normal ice cream recipe. Bonus! I, myself, have tried to cut out a lot of dairy from my diet after my Whole 30 experience. But that also means cutting out a lot of other wonderful foods, like cheese and ice cream (is life even worth living without cheese and ice cream?). To supplement, I have tried quite a few dairy free ice creams and ice cream recipes, but most of them are a weird consistency and the flavor seems very artificial. I get it. It's really hard to imitate that creaminess without actually using any cream. Fortunately, through some trial and error, I think I have come pretty close. The key is coconut cream! I used both coconut milk and coconut cream, along with some vanilla and sugar, to make this ice cream. The natural flavor of the coconut milk and cream give this ice cream a noticeable, but not overpowering coconut flavor. Also, because coconut is naturally sweet, this recipe doesn't need as much sugar as your average ice cream recipe. Score! I started by bringing the coconut milk, coconut cream, sugar, and vanilla pod to a simmer in a medium sauce pan. I just wanted the sugar to dissolve and the vanilla flavor to permeate through the milk. I let the mixture cool completely on the counter, then put it in the fridge for a few hours to really help the flavors develop. In the mean time, I chilled the work bowl of my ice cream maker. Once is was chilled, I poured the cream into the bowl and let the ice cream maker go to work. While I have never made ice cream the old fashioned way (save for that one time in Girl Scouts many moons ago), I imagine you could also use this same recipe with a manual ice cream maker. Once it was all churned, I put it into my ice cream container (a loaf pan would also work) to harden even more in the freezer. I let the ice cream sit in the freezer overnight so that it was nice and frozen the next day. Because it's not quite as creamy as normal icing, I did have to leave it sitting on the counter for about 5 minutes to soften up before I could scoop it out. After that, it is ready to eat! I enjoyed my first bowl of this coconut ice cream topped with some fresh berries and shredded coconut. It would also be good with chocolate chips, caramel sauce, or just on it's own! Just remember, you really can taste that coconut, so choose your toppings wisely! But most of all, enjoy it! I sure did! It was very creamy and rich, the flavor was perfect, and it really hit the spot on a hot Summer day. The best part was how I felt afterwards. My stomach wasn't grumbling and upset at me for consuming all that dairy. It was definitely worth all the work just for that!
Ingredients
- 1½ cup coconut cream
- 1½ cup coconut milk
- ½ cup sugar
- ¼ tsp salt
- 1 vanilla pod