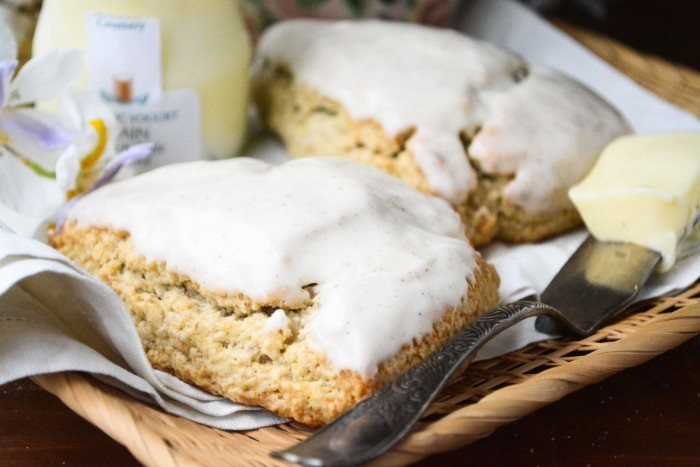
Banana Walnut Scones with Browned Butter Icing
Recipe by
The View From the Great Island
Visit website
Moist and tender Banana Walnut Scones with Browned Butter Icing might just be the most comforting breakfast on the planet!
Ingredients
- 2 cups all purpose flour
- 1 cup oat flour (I like Bo
- 1 tbsp baking powder
- ½ tsp baking soda
- ½ tsp salt
- ½ cup sugar
- 12 tbsp unsalted butter
- heaping half cup finely chopped walnuts
- ½ cup well mashed ripe bananas (about 2 medium)
- ½ cup heavy cream
- ½ tsp vanilla extract
- browned butter icing
- 2 tbsp unsalted butter
- 2 cups confectioner's sugar
- heavy cream, half and half, or milk, to thin
Method
- Set oven to 400F
- Put the flours, baking powder, soda, salt and sugar in the bowl of a food processor fitted with the blade attachment. Pulse to combine.
- Add the butter pieces and pulse about 20 or more times to completely incorporate the butter. The mixture will have a coarse crumb.
- Put the mashed banana in a glass liquid measuring cup and add enough cream to make 1 cup. Stir in the vanilla.
- Add the walnuts and the liquid ingredients to the processor and pulse again until the dough comes together. I pulse several times and then run the machine briefly to get the dough to form. Don't over-process.
- Turn the dough, it will be sticky, out onto a floured surface and bring together with your hands. Form it into a 7 to 8 inch flat round disk. Again, don't over-work the dough or you will get tough scones. The dough will be shaggy and rough, and you want it that way.
- Cut the disk in half, and then into 8 triangles. Arrange the scones on a lined baking sheet, 2 inches apart. At this point I like to refrigerate the dough while I clean up the mess.
- Bake the scones for about 15-18 minutes until golden. Cool on a rack before icing.
- To make the icing, put the butter in a small saucepan or skillet and melt it over medium heat. Watch it carefully, the butter will start to sizzle, and then slowly start to turn brown. Swirl or stir often. Take the pan off the heat when the butter is a dark nutty brown, but before it burns. This only takes a couple of minutes. Note: it helps to use a pan with a light colored lining so you can see the color transformation better.
- Pour the butter into the sugar and stir. Add just enough milk or cream to make a thick glaze.
- Turn each scone headfirst down into the glaze and invert back onto a rack.
- Enjoy!
View the recipe instructions at The View From the Great Island
