Marbleized Bark
Recipe by
The View From the Great Island
Visit website
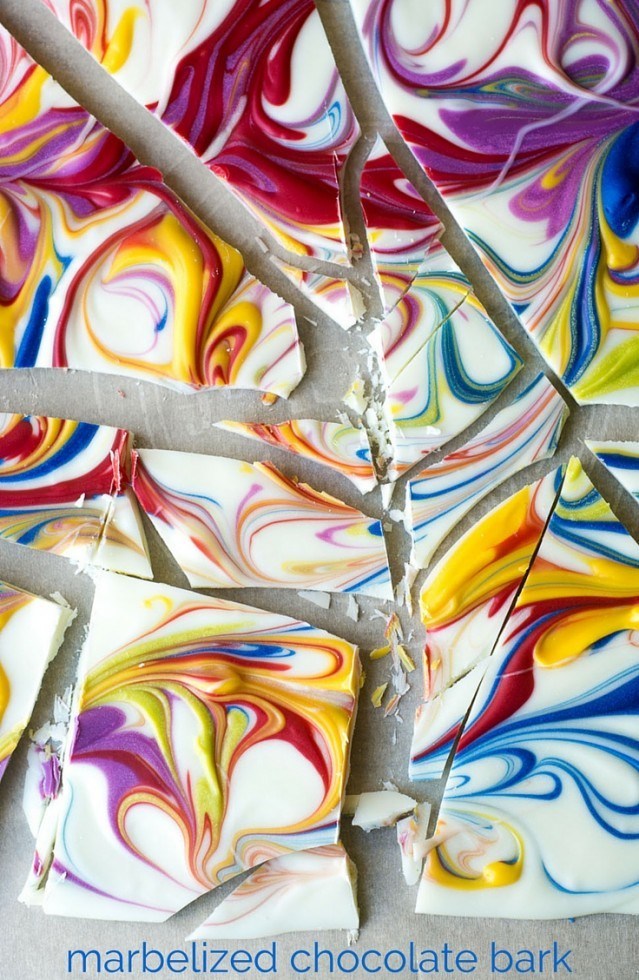
Marbleized Chocolate Bark --- this colorful homemade chocolate bark is like finger painting in the kitchen, but you get something delicious when it's done!
Ingredients
- 12 ounce bag of white chocolate chips, I use Nestle
- ¼ cup assorted colors of candy melt wafers, I used Wilton (link in the notes below)
- coconut oil
Method
- Put the white chocolate chips into a microwave safe bowl or measuring cup.
- Put each color of candy melt into a separate little cup or baggie. I added a small dab (about 1/4 tsp) of coconut oil to each color which helps make it more fluid for swirling.
- The goal here is to melt everything so it is all smooth and molten at the same time. I first microwave the white chocolate for a minute, then set aside. I put the colored chocolate in for about 30 seconds each and stir or squeeze the baggies to melt completely. Put back anything that hasn't completely melted into the microwave for a few seconds at a time. Don't overheat or the chocolate can seize up.
- When everything is melted and smooth, pour the white chocolate out onto a parchment lined baking sheet, and spread it out to a rectangle about the size of a piece of paper, or a little larger.
- Drop, drizzle, or squirt the colored chocolate on top of the white. If you are using baggies you will need to snip a small hole in the corner of each. Add as much or as little as you like, the effects will vary. I dropped some in dots, and drizzled others.
- Take a chopstick or other similar implement and pull it through the surface of the bark, swirling all over. Don't forget to get all the edges. You can swirl a lot or a little.
- Put the whole tray into the fridge to firm up.
- When the chocolate is completely hardened, (give it an hour and then check,) cut it into pieces with a heavy knife.
- Store at room temperature or in the refrigerator.
View the recipe instructions at The View From the Great Island
